- AI
- Guides
How I Let Claude Code Edit My Instagram Reel in Edits for Mac: Setup Guide and Prompt
The full setup from my video: turn on the Edits automation server, connect Claude Code, build the same editing folder I use with one prompt, and edit a Reel with my editing skill.
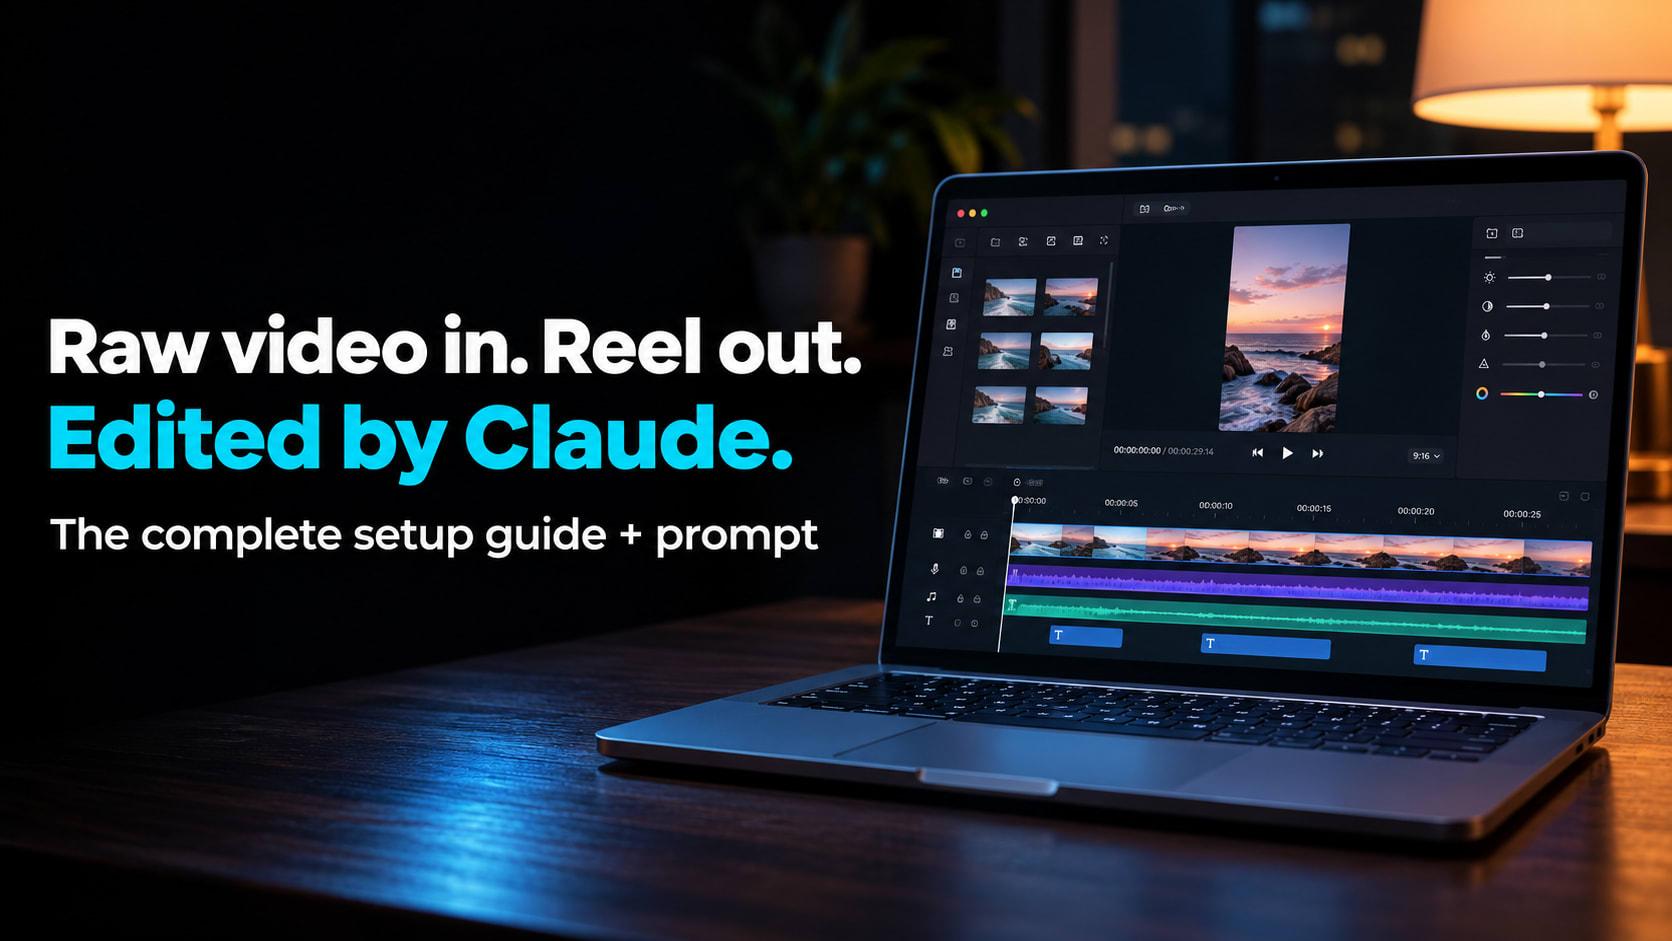
I gave Claude Code one raw video and it edited a full Instagram Reel for me, inside Instagram's own Edits app on my Mac. Trim, B-roll, music, sound effects, captions, even a couple of memes.
If you came here from my video, everything is below: the Edits setup, a prompt that builds the same editing folder I use (with my editing rules and skill inside), and the prompt to edit a video with it.
Watch the video
Watch the video first, then follow the steps and copy the prompt below.
What you need
- A Mac with Apple silicon (M1 or newer). Edits for desktop does not run on Intel Macs.
- The Instagram Edits app for Mac, signed in with your Instagram account. It is free: edits.instagram.com.
- Claude Code, either in the Terminal or in the Code tab of the Claude desktop app. Claude Code needs a paid Claude plan.
- One raw video you want to turn into a Reel.
Step 1: turn on the automation server in Edits
Open Edits, click the logo and go to Automation. Turn on Enable automation server. This runs a small server on your own Mac so an AI tool can control the app. It stays on your local network.
Edits will show you an access token. Treat it like a password: don't share it, don't post a screenshot of it. If it leaks, make a new one from the same screen.
Step 2: connect Claude Code
On the same Automation screen, under Connect an AI client, pick Claude Code and copy the setup text it gives you. Paste it into Claude Code and press enter. Claude connects itself to Edits; it takes about a minute.
You only do this once. To check it worked, ask Claude: "Can you see the Edits app? List the tools you have."
Step 3: put your video in the Movies folder
This is the one catch. Edits is a sandboxed app and can only open files from your Movies folder. Make a folder inside Movies, put your raw video in it, and give Claude that file (you can drag it straight into Claude Code).
Step 4: set up your editing folder (one time)
This is the part most tutorials skip. I don't just give Claude a prompt every time. I have one workspace folder on my Mac where every video, every rule and my editing skill live. Claude reads my rules before every edit, so it already knows how I like my videos.
Paste this prompt into Claude Code once. It asks you a few questions about your channel, then builds the same kind of folder I use, writes your editing rules and installs the editing skill.
Set up a video editing workspace for me on this Mac, the way a creator organises their channel. Work step by step and explain what you are doing in simple words.

First, ask me these questions and wait for my answers:
1. Where should the workspace live? (Default: a folder called "Creator Lab" in my home folder.)
2. My channel name(s).
3. Which formats I make: Shorts/Reels, long-form videos, carousels, photo posts.
4. The language I speak in my videos (for example Hinglish, Hindi, English).
5. My style: calm and clean, or bold and fast? Any fonts or colours I always use?
6. Which editor I use. Default: the Instagram Edits app on Mac, through its automation server.

Then create this structure (use my answers for the names):

Creator Lab/
  CLAUDE.md                 rules you must read before every task (write it, see below)
  START-HERE.md             a short plain-English map of this workspace
  inbox/                    I drop raw footage here; you sort it into projects
  channels/
    <channel-name>/
      ideas/
      projects/
        shorts-reels/
        long-form/
        carousels/
        photo-posts/
  editing-kit/
    EDITING-RULES.md        how I like my videos trimmed and edited
    EXPORT-RULES.md         resolution, frame rate, file naming
    ASSET-SOURCING.md       where B-roll, music and images may come from
    broll/                  reusable clips, in subject folders (phones, laptops, food...)
    music/                  background music, with a README of the licence for each track
    sound-effects/          soft clicks and whooshes only
    memes/                  reaction clips, with a catalogue.csv of what each one is for
    fonts/
    style-references/       screenshots of edits I like
  .claude/
    skills/
      reel-edit/
        SKILL.md            my editing skill (write it, see below)

Every project folder is named YYYY-MM-DD_topic-name (the publish date, lowercase, hyphens), and inside it:
  script.md, footage/, edit/, graphics/, exports/, publishing/, notes/STATUS.md
STATUS.md always says what stage the project is at and what is next, so any AI (or I) can continue later without the chat history.

Write CLAUDE.md with these rules:
- Before any editing task, read editing-kit/EDITING-RULES.md and use the reel-edit skill.
- Keep original recordings inside their project folder. Never delete or overwrite my footage.
- Before reusing or downloading B-roll, search editing-kit/broll/ first. Save new reusable clips there with descriptive file names and a note of where they came from.
- Never post or upload anything unless I say so for that specific video.
- Never show or save passwords, access tokens or keys in any file.
- After every work session, update the project's notes/STATUS.md.

Write editing-kit/EDITING-RULES.md from my answers, starting with these defaults:
- Trim tight: cut retakes, repeated lines, mistakes and dead air. Keep the last complete take. Keep about 300 ms between sentences. Never cut a word in half.
- Always stop after the trim and wait for my approval before the full edit.
- Highly edited: in a Short, something visibly changes every 2-3 seconds (B-roll, punch-in, graphic); in long-form every 4-5 seconds.
- Show everything I name: the real website, product page or price, highlighted.
- At most 4 words of text on screen at a time. A graphic for every number.
- Keep text out of the top and bottom edges and the right-side button area on Reels.
- Music very low under my voice (around -26 dB), with a soft fade in and out. Soft SFX only, not on every cut. Mute B-roll audio.
- Memes only where they fit the moment, never in serious parts.
- Natural, subtle colour. No heavy filters.

Write .claude/skills/reel-edit/SKILL.md as a proper Claude Code skill. Start it with:
---
name: reel-edit
description: Edit a raw video into a finished Reel or Short inside the Instagram Edits app. Use when I say "edit this video", "make a reel" or drop footage.
---
Then write the steps below as the skill body:

Before you start
- List the Edits tools you can use, and tell me if anything you need is missing.
- Edits can only open files from my Movies folder. Copy the raw video into ~/Movies/<project-name>/ (keep the original in the project's footage/ folder). Create a new Edits project. Never change my other projects.
Step 1: Watch first. Go through the whole video and its speech. Tell me in a few lines what it is about, which part is the main talking footage and which parts are B-roll.
Step 2: Trim, then stop. Follow EDITING-RULES.md. Show me what you cut and wait for my approval. I may tell you what to change, or trim it myself in Edits and ask you to continue.
Step 3: B-roll. When I name a product, website, app, price or place, show the real thing and highlight what I am talking about. If I have not given you B-roll, search editing-kit/broll/ first, then royalty-free sources (for example Pexels or Pixabay) or official press images. No watermarks. Log every source in the project's notes. If nothing fits, make a simple motion graphic (with HyperFrames or Remotion if installed, otherwise Edits' own text and shapes).
Step 4: Text and graphics. Follow EDITING-RULES.md.
Step 5: Sound. Pick music from editing-kit/music/ that fits the mood, keep it low under my voice, add a few soft SFX, mute B-roll audio.
Step 6: Fun. Where it fits, add a short meme from editing-kit/memes/ after a surprising line.
Step 7: Captions and review. Add Edits' auto captions, max 3 words per line, check names and brand words. Play it through, then tell me what you did, what you could not do and anything you are unsure about. Wait for my feedback. Do not export or post unless I ask. Update notes/STATUS.md.

Finally, write README.md files in each editing-kit folder explaining what goes there, then show me the finished folder tree and tell me how to use it: "drop a video in inbox/ and say: edit this video". Do not download any music, memes or B-roll yet; I will add my own.
When it is done, open Claude Code inside that folder from then on (in the Terminal: cd into it and run claude, or pick the folder in the Claude app). That is how it finds your rules and the skill.
Step 5: edit a video
Drop your raw video in the inbox folder, or drag it into Claude Code, and say:
Edit this video using the reel-edit skill. It is for my <channel-name> channel, a Reel about <topic>.Claude will trim first and wait for you. Tell it what's wrong in plain words ("this line repeats, cut it") or trim it yourself in Edits and tell it to carry on. After you approve, it does the full edit inside Edits.
Don't want the folder? You can paste the skill on its own instead, every time:
You are my video editor. I will give you one raw video. Edit it into a finished Instagram Reel inside the Instagram Edits app on my Mac, using the Edits automation tools you are connected to.

Before you start
- List the Edits tools you can use, and tell me if anything you need is missing.
- The raw video must be inside my Movies folder, because Edits can only open files from there. If it is somewhere else, tell me and wait. Do not move or delete my original file.
- Create a new Edits project for this video. Never change my other projects.

Step 1: Watch first
- Go through the whole video and its speech. Tell me in a few lines what it is about, which part is the main talking footage and which parts are B-roll.

Step 2: Trim, then stop
- Cut retakes, repeated sentences, mistakes and dead air. Keep the last complete take of each line. Never cut in the middle of a word.
- Keep a short natural pause (about 300 ms) between sentences so it does not sound robotic.
- Show me what you cut and wait for my approval. I may tell you what to change, or trim it myself in Edits and ask you to continue.

Step 3: B-roll
- When I name a product, website, app, price or place, show it on screen. Use the real thing: the official website, the actual product page or a screenshot of the real offer, and highlight the part I am talking about.
- If I have not given you B-roll, find it yourself: royalty-free images and clips (for example Pexels or Pixabay) or official press images. Do not use anything with a watermark. Keep a list of every source.
- If you cannot find a fitting visual, make a simple motion graphic instead (if HyperFrames or Remotion is installed on my Mac, use it; otherwise use Edits' own text and shapes).

Step 4: Text and graphics
- At most 4 words on screen at a time. One idea per screen. Big, clean and readable on a phone.
- A graphic for every number I say.
- Keep all text out of the top and bottom edges of the frame and away from the right side where Instagram puts its buttons.

Step 5: Sound
- Pick background music that fits the mood. Keep it very low under my voice; my voice must always be clear.
- Add soft clicks or whooshes only on a few key moments. No loud or harsh sound effects.
- Mute the audio of B-roll clips.

Step 6: Fun (optional)
- Where it fits naturally, add a short meme or reaction clip after a surprising line. Never in a serious moment.

Step 7: Captions and review
- Add captions with Edits' auto captions. Max 3 words per line. Check names and brand words are spelled correctly.
- Play through the finished edit, then tell me what you did, what you could not do, and anything you are unsure about. Wait for my feedback before changing anything else. Do not export or post unless I ask.
Step 6: fix the first draft with one prompt
My first draft was okay, not great. The music and sound effects were good, but it didn't feel trustworthy because it didn't show the real store page while I talked about the price. One follow-up prompt fixed it:
The edit is good, but it does not feel trustworthy yet. Where I talk about [the product / offer / price], show the actual [store or official website] on screen, scroll to it and highlight the exact price I mention. Keep everything else the same.That's the habit: be specific about what's wrong and what you want instead. Since the result is a normal Edits project, you can also open it and drag things around yourself.
My honest verdict
It does the work you would pay a ₹1,000–2,000 editor for: roughly 60–70% of the job. The last 30%, the creativity, is still yours. You get better results when you can picture the edit you want and describe it clearly.
When you are done
You can switch the automation server off in Edits' Automation settings. I leave it on because it only runs on my local network, but if you don't plan to use it again, turn it off.
Common problems
Claude can't open my video
Move it into your Movies folder and try again.
Claude says it isn't connected to Edits
Make sure Edits is open and the automation server is still on, then run the setup text from Step 2 again. If you made a new token, you need to run it again.
The edit doesn't match what I wanted
Tell Claude exactly what to change, one thing at a time. The prompt is a starting point; add your own style rules to it (fonts, colours, how many words on screen).
Sources
- Instagram Edits, the app used in this guide. Setup steps checked on my own Mac (Edits for Mac, version 455) in November 2026; labels may change in later versions.